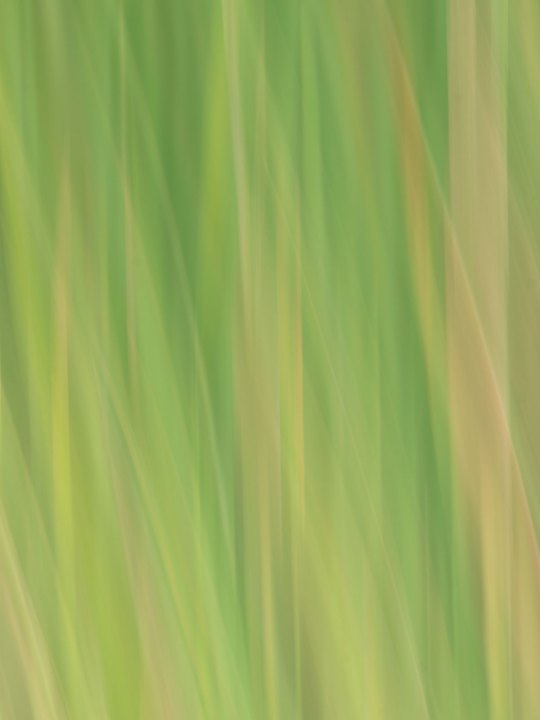
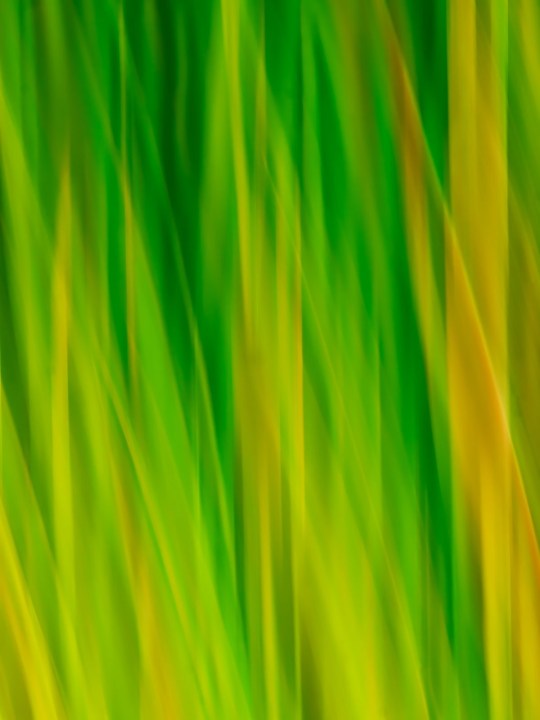
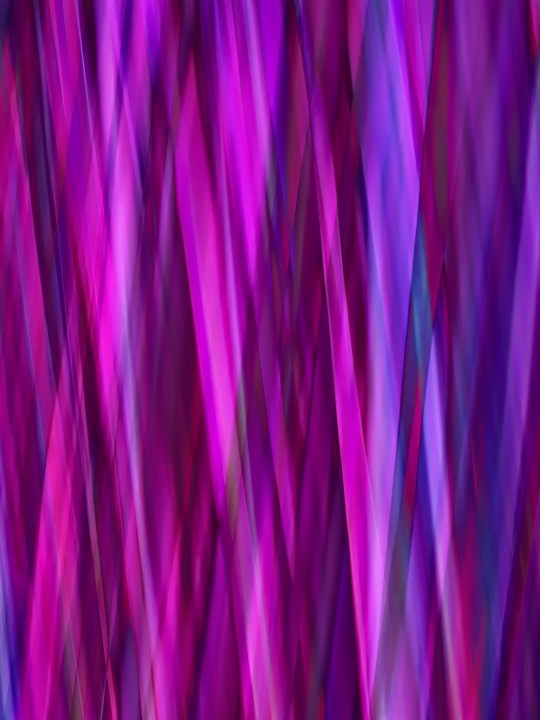
Creating abstract photo art from nature is a wonderful way to turn a ho-hum overcast photo day into one that gets you some colorful décor imagery. Keep this in your back pocket on days when it just isn’t working for you as well.
Camera settings
When you have an overcast flat light day it’s time to get creative. It starts with changing the way you think about image making. Normally we want to have a steady camera with a decent exposure that represents the subject that is in front of our camera. At times that will lead to boring photos. We can change that with a bit of camera magic.
You’ll need to override some of your instincts to make something out of almost nothing. I’ll often do this in aperture priority by pushing to the smallest setting, such as f/22. In addition, set the ISO to a lower setting. The idea is to attain a relatively slow shutter speed. For these images I used my Lumix G9 with the Leica 100-400mm lens. As a former Lumix Ambassador I’ve found this to be one of my favorite combinations. Any camera and lens combo will work as there is so much abstract stuff going.
Shooting technique

Then it’s time to play! When making your exposures, instead of holding still, move the camera. Try moving it in many directions including up and down and side to side. For a fully different variation spin the camera in a circle.
This technique calls for lots of experimentation. If the result is too blurry you can slow down the speed of your camera movement. Or, you can open up the shutter a bit to f/16 or f/11 giving you a slightly faster shutter speed. The beauty of the digital realm is that we can see the results immediately. Plug in that feedback and play some more.
.mgl-tiles { display: none; } #mgl-gallery-634ef3750f502 { margin: -5px; width: calc(100% + 10px); } #mgl-gallery-634ef3750f502 .mgl-box { padding: 5px; } @media screen and (max-width: 768px) { #mgl-gallery-634ef3750f502 { margin: -5px; width: calc(100% + 10px); } #mgl-gallery-634ef3750f502 .mgl-box { padding: 5px; } } @media screen and (max-width: 460px) { #mgl-gallery-634ef3750f502 { margin: -5px; width: calc(100% + 10px); } #mgl-gallery-634ef3750f502 .mgl-box { padding: 5px; } }
SOOC straight out of camera with no adjustments
Same image as SOOC after some post-production
Post-production
Once you are back in the studio working on your computer it’s time to enhance the images. This will take them to a whole ‘nother level. Start with your processor of choice. Mine is Adobe Camera Raw and Photoshop. I personally almost always capture my images in the RAW format. RAW gives you more headroom because it has all the information presented to the camera. If you use jpeg you will be using the camera processor and settings throwing away information as the file is saved.

Time to play (again)
I am a big fan of playing with settings and pushing limits to find out what tools will do. I discovered with this experiment that Dehaze gives tremendous depth and dimension. This is not a tutorial but some of the settings I always seem to use in addition to Dehaze are, Blacks, Whites, Shadows, Vibrance, Temperature and Tint.
Move to Photoshop
I know you will be shocked because I’m going to tell you to play again. You can Copy Layers and change the Blend Mode. You can do that again. Add masks for areas where you might not wish for that effect to be applied. Add Adjustment Layers for Levels, Curves and Hue/Saturation and use the masks to be. Change color. Dodge and burn the image.
I think you get the idea from the examples I shared in this post. Just in case I’ll be following up this post with some more in-depth post-production tips and tricks.
I’d love to see what you create! Let me know.
Tell your story with the second annual Visual Storytelling Conference!
Experience four days of interactive, online training sessions featuring a range of educational content with experienced photographers and content creators. This free event kicks off with a series of technical boot camps to build essential skills, followed by live, online sessions on photography, video, business and social media. Join live from March 10-13, 2022!
