The following is an excerpt from Xpozer’s “Photo Editing for the Perfect Wall Print” eBook. Check out their Picture-Perfect Print Pack and get your copy today!
Cropping
It may happen that the aspect ratio of your photo is not in alignment with the size of the print that you ultimately want to hang on your wall, or you may only want to display part of the photo or cut out a section. Composition is often an underestimated editing element but it can make your enlargement even more striking.
Zoom in on your photo or cut out objects that ‘distract’ attention from the subject. By removing such objects the visual effect of your photo will be much calmer.
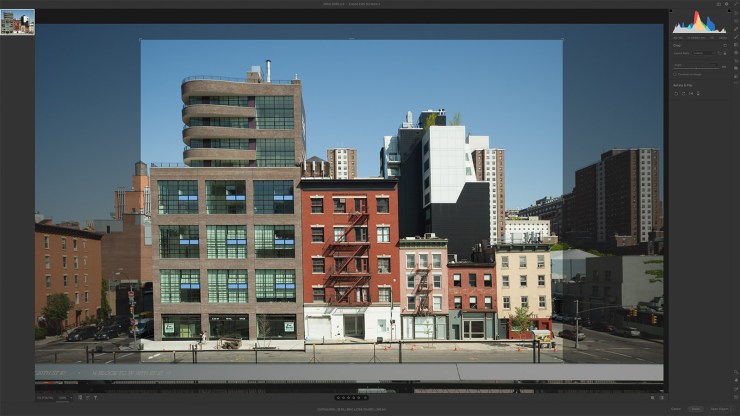
A lens is always sharpest at the center of the image and less sharp at the edges, even if you have brought the subject of your photo into perfect focus. For this reason, it can sometimes be best to crop the less defined edges. Important: Cropping a section of your photo may reduce its quality. Take this into account if you want to enlarge the photo.
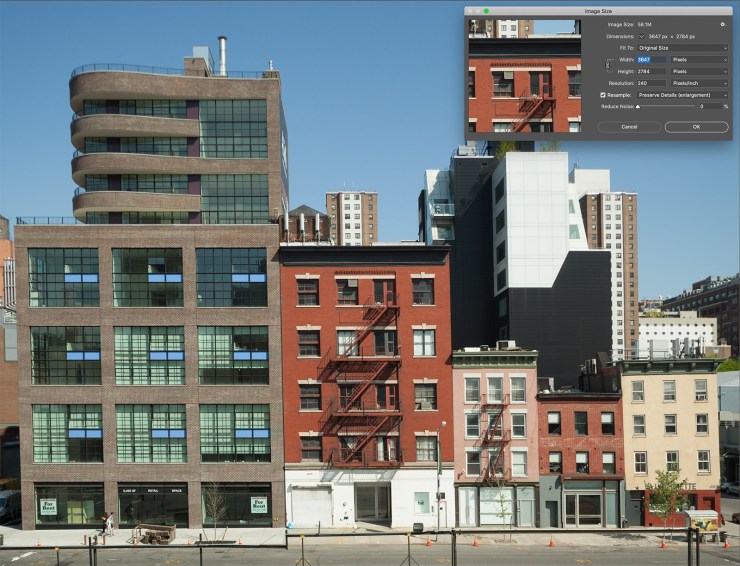
View photos at 100%
Once you are happy with the composition of your photos, it is important to view your image at 100% size. This will give you a good idea of how sharp the image is and enable you to easily check if there were any spots (like dust) on the lens that will appear in your photo. When assessing sharpness, it’s best to start with the subject.
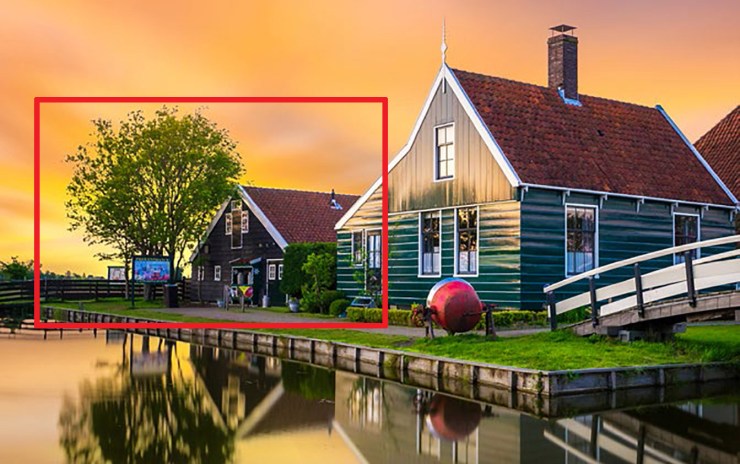
Is the subject actually in focus and sharper than the background? Your camera sensor has multiple focus points and therefore one point is selected automatically. This means that it could be the case that your camera sees a blinking object next to your subject and focuses on it automatically. We therefore recommend that you choose your focus point yourself.
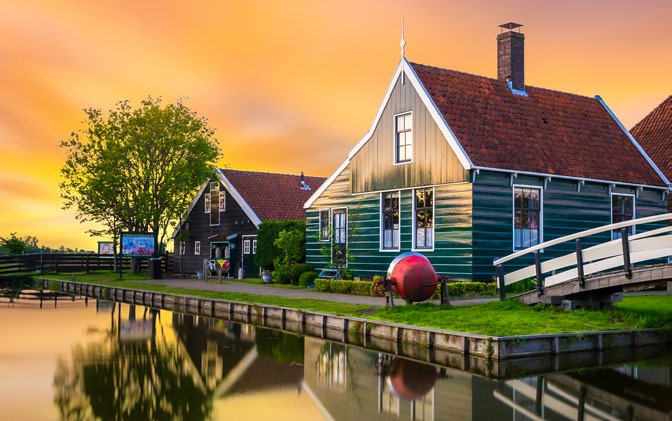

Remove spots
Your photo may have spots on it caused by dust on the lens or sensor. Of course, you don’t want these ‘flaws’ to spoil your photo. Luckily, you can get rid of such spots easily so that they no longer draw attention. When removing spots, we recommend that you start scanning for spots from the upper left and move down to the lower right. Spots are usually most visible against a blue sky but they can also be seen against other backgrounds. Photoshop has a handy tool for the immediate removal of spots: the Spot Healing Brush. This tool clones a similar area in your photo and seamlessly blends the sample with the target area and corrects the lighting. The spots are usually removed so well that you cannot detect a single trace of them.
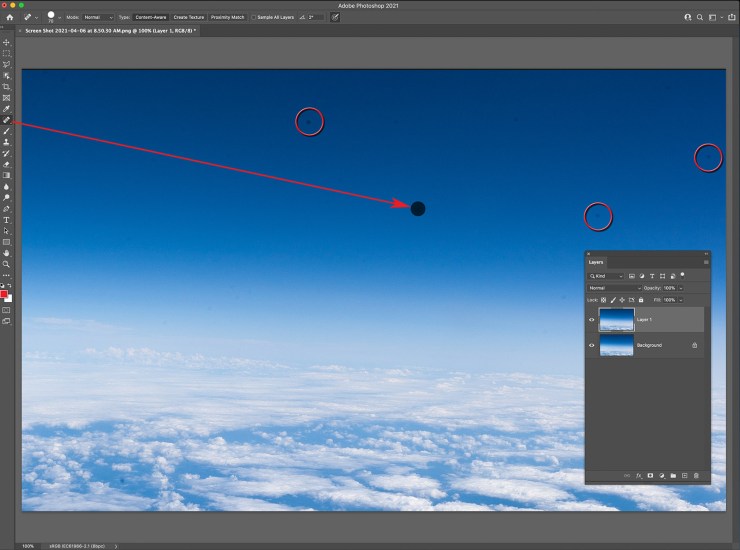
Spots are much more highly visible on an enlargement than on your computer screen. This step is therefore crucial to creating a beautiful photo enlargement!
Tell your story with the second annual Visual Storytelling Conference!
Experience four days of interactive, online training sessions featuring a range of educational content with experienced photographers and content creators. This free event kicks off with a series of technical boot camps to build essential skills, followed by live, online sessions on photography, video, business and social media. Join live from March 10-13, 2022!
