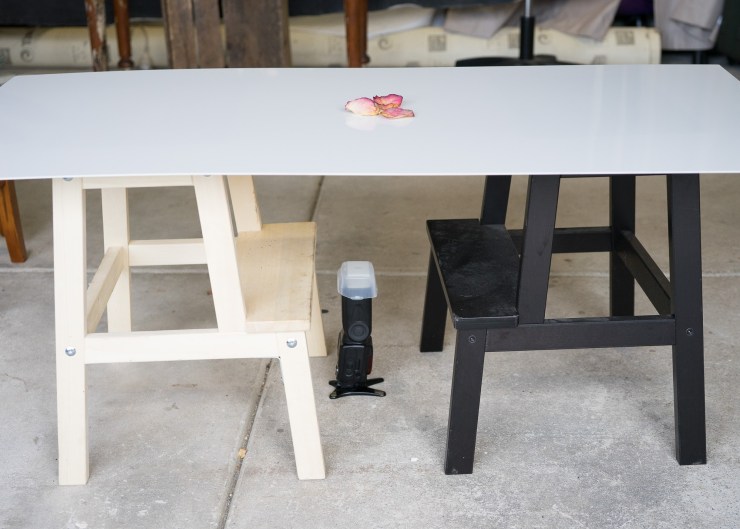
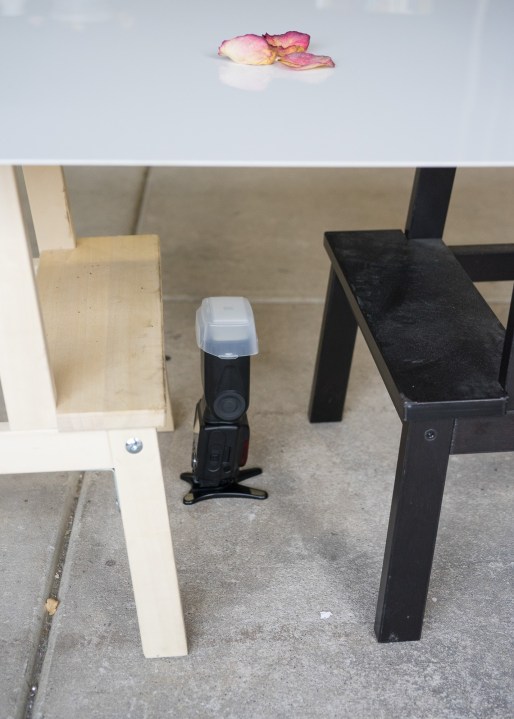
Why try this fun afternoon project, you just need a sheet of white acrylic (mine is 900mm x 600mm) but it does not need to be that big. In some parts of the world, it is referred to as Plexiglass or Perspex, but they are mostly brand names. I set the acrylic sheet up by placing it on two small stools, I also set up my Nikon SB-910 Speedlight on a small stand underneath.
Behind the scenes
.mgl-tiles { display: none; } #mgl-gallery-634ef73a79350 { margin: -5px; width: calc(100% + 10px); } #mgl-gallery-634ef73a79350 .mgl-box { padding: 5px; } @media screen and (max-width: 768px) { #mgl-gallery-634ef73a79350 { margin: -5px; width: calc(100% + 10px); } #mgl-gallery-634ef73a79350 .mgl-box { padding: 5px; } } @media screen and (max-width: 460px) { #mgl-gallery-634ef73a79350 { margin: -5px; width: calc(100% + 10px); } #mgl-gallery-634ef73a79350 .mgl-box { padding: 5px; } }
The object
The object is to get the speed light to come through the opaque acrylic and make the objects placed on top of it almost translucent. The trick is balancing the light to get enough detail without blowing out the highlights.
Settings
The speed light started at 1:1 but found the light was overpowering and ended up dropping down to 1:64. Camera settings were f/4.0, ISO 200, 1/125s, spot metering and used TTL flash mode. I was using my Sony a7 II and my Sony 50mm macro lens with a Godox X1 trigger and receiver between the camera and speedlight.
Picking the Props
Try different fruits; Grapefruit, kiwi fruit, blood orange, dragon fruit (too thick; did not work well at all), I then moved onto rose petals and other dried flowers, leaf skeletons and such. It was really interesting to see what worked really well and what did not.
.mgl-tiles { display: none; } #mgl-gallery-634ef73a79dfe { margin: -5px; width: calc(100% + 10px); } #mgl-gallery-634ef73a79dfe .mgl-box { padding: 5px; } @media screen and (max-width: 768px) { #mgl-gallery-634ef73a79dfe { margin: -5px; width: calc(100% + 10px); } #mgl-gallery-634ef73a79dfe .mgl-box { padding: 5px; } } @media screen and (max-width: 460px) { #mgl-gallery-634ef73a79dfe { margin: -5px; width: calc(100% + 10px); } #mgl-gallery-634ef73a79dfe .mgl-box { padding: 5px; } }
Blood Orange close up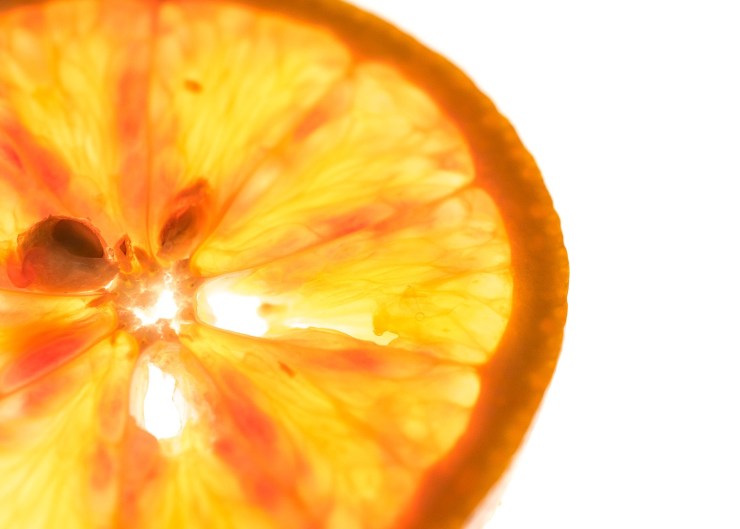
Blood orange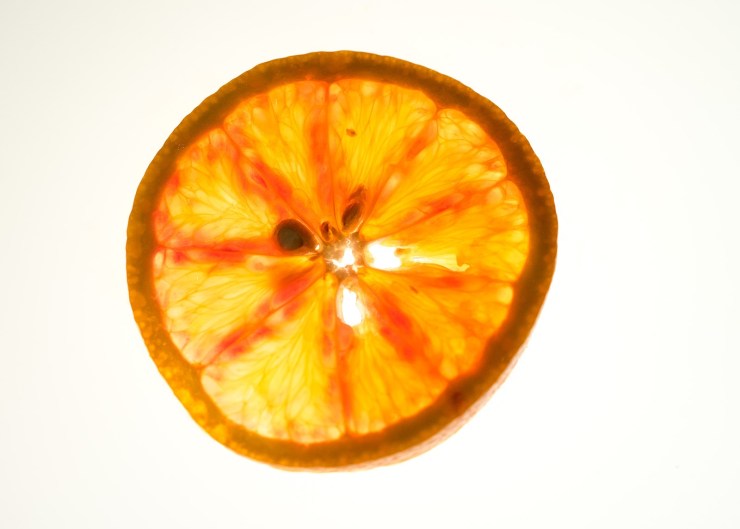
Dried Hydrangea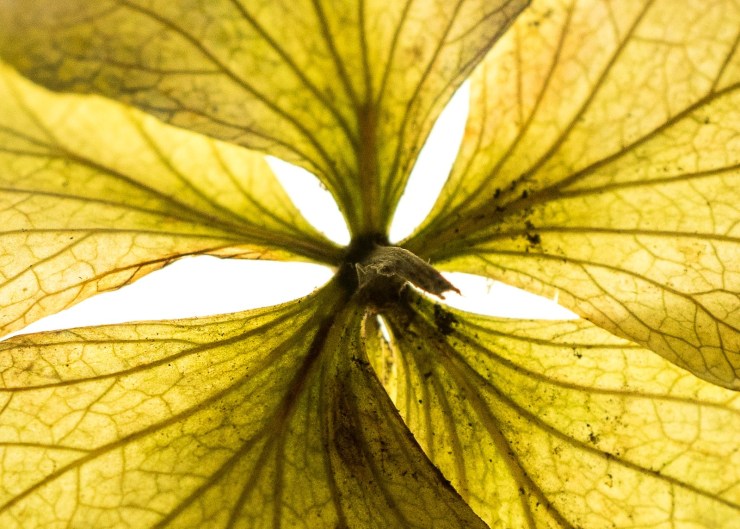
Dried Hydrangea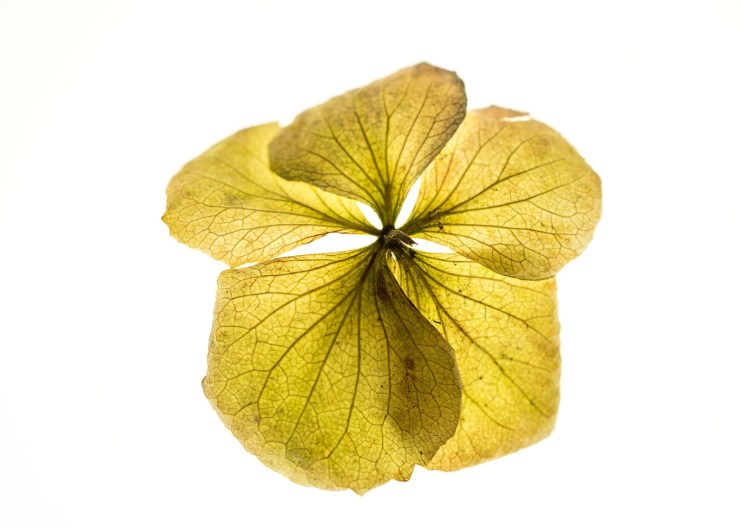
Dried Rose petal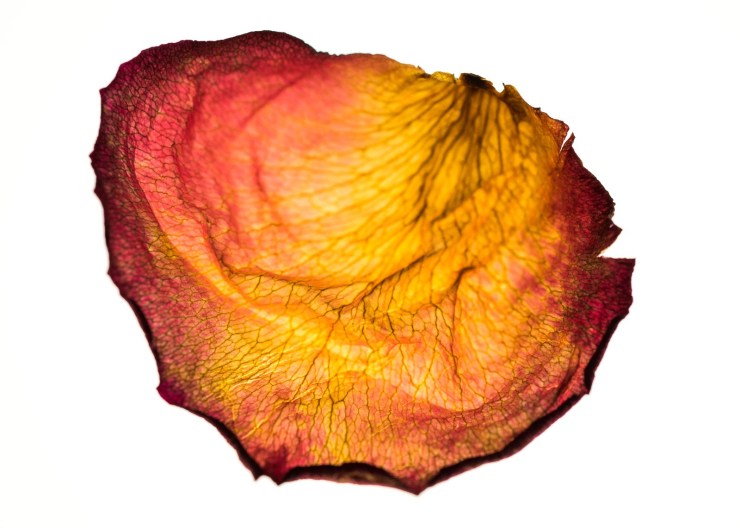
Leaf skeletons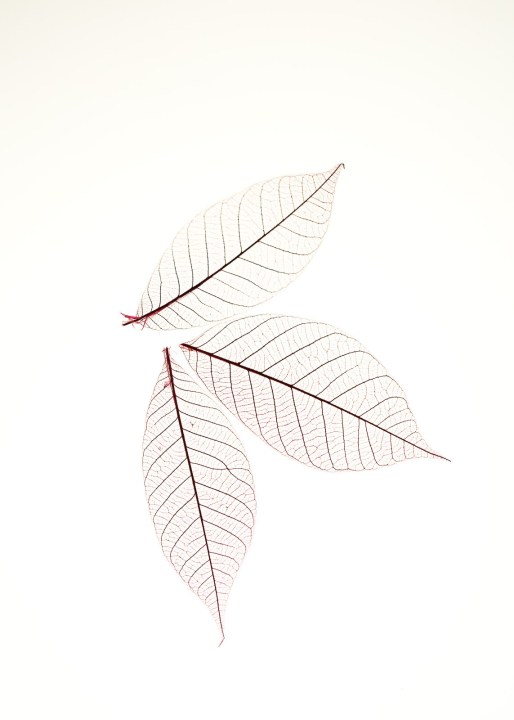
Leaf skeletons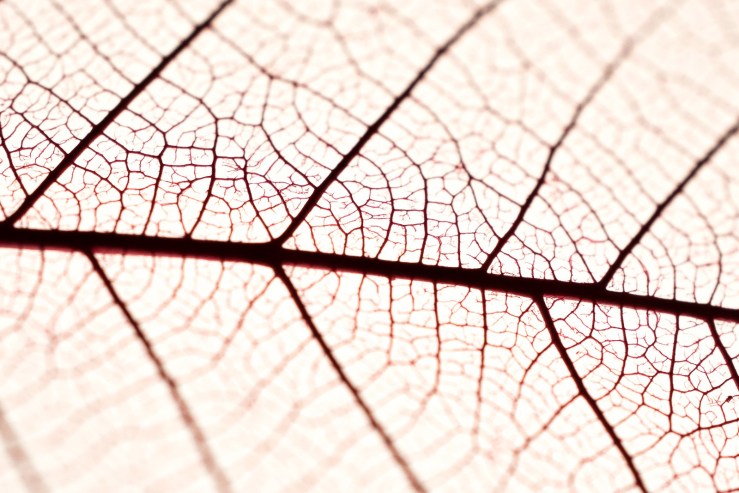
Leaf skeletons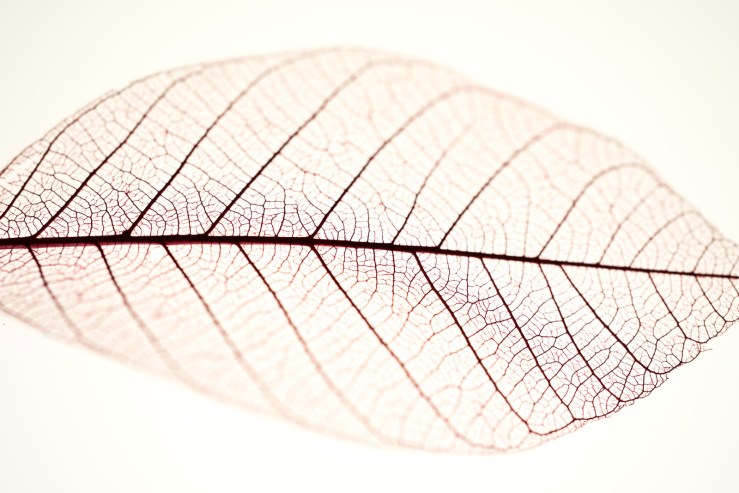
Kiwi Fruit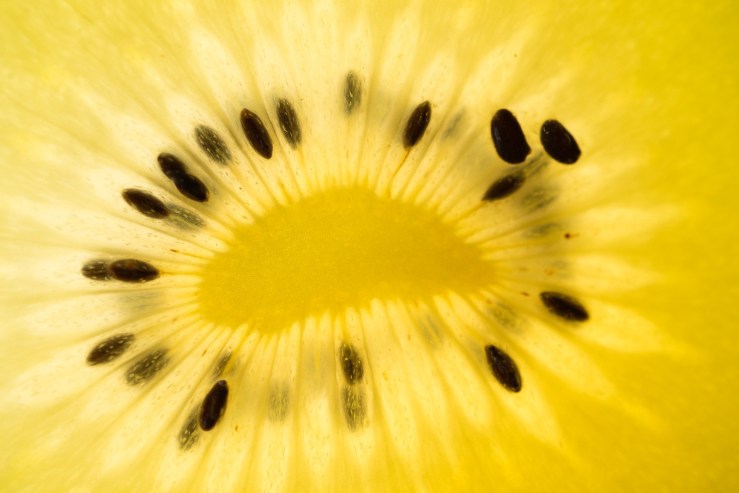
Kiwi Fruit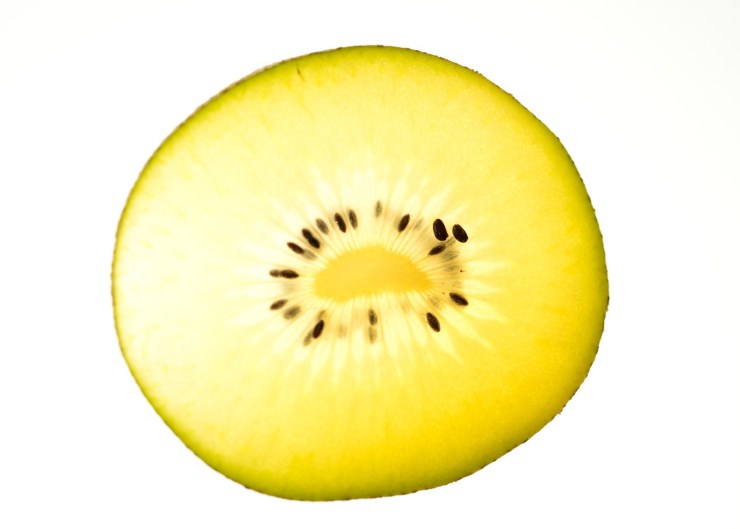
Grapefruit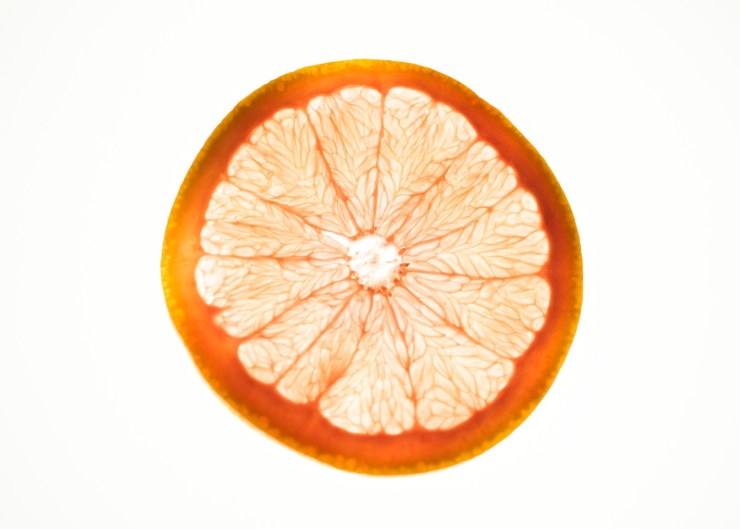
As easy as it would be to pile on lots of different items, I felt it was best to start simply and work up from there, this is often the case when attempting something new. Plus I really wanted clear single shots of each item.
Tell your story with the second annual Visual Storytelling Conference!
Experience four days of interactive, online training sessions featuring a range of educational content with experienced photographers and content creators. This free event kicks off with a series of technical boot camps to build essential skills, followed by live, online sessions on photography, video, business and social media. Join live from March 10-13, 2022!
