Looking for a new project for your DIY bokeh shaper? Have a go at this Valentine’s Day project.
I wanted to use my DIY bokeh shaper to create an easy Valentine’s phone background. It didn’t go as planned, but I was still happy with the result. Let’s dive in to what I tried, and what I got!
Goal: Create a Valentine’s photo incorporating heart bokeh and letter tiles
I wanted to create a Valentine’s photo with the heart-shaped bokeh in the background, and my letter tiles (mine are from Bananagrams, but Scrabble tiles are the obvious choice!) in the foreground. I set up a sheet draped down onto my dining table, and scrunched up a bundle of Christmas lights against the sheet backdrop.
Things were looking good as I tested my foreground setup.
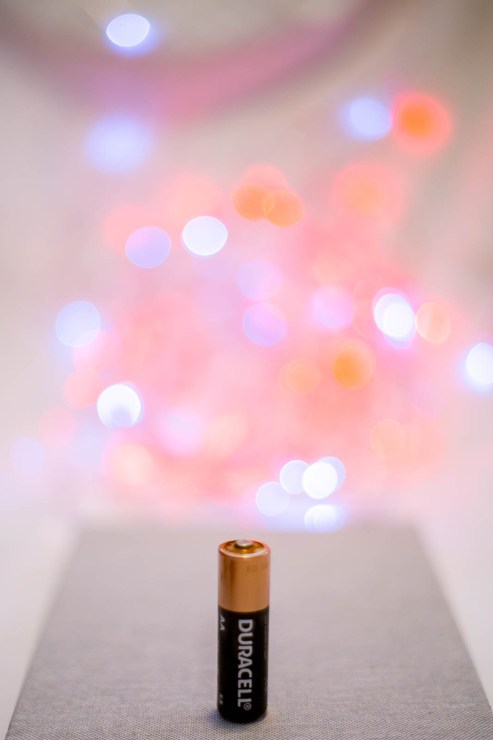
I set up my letter tiles and took some more test shots. In this shot, the lights are between the camera and the tiles, which worked well.

Problem: My 50mm f/1.8 lens is not a macro lens
Once I fitted my DIY bokeh shaper to the front of my 50mm lens, however, I was unable to get the effect I wanted. The main problem is that my nifty fifty has a long minimum focus distance of 450mm (almost 18 inches). It was just too close between the tiles and the Christmas lights for the lights to be out of focus.
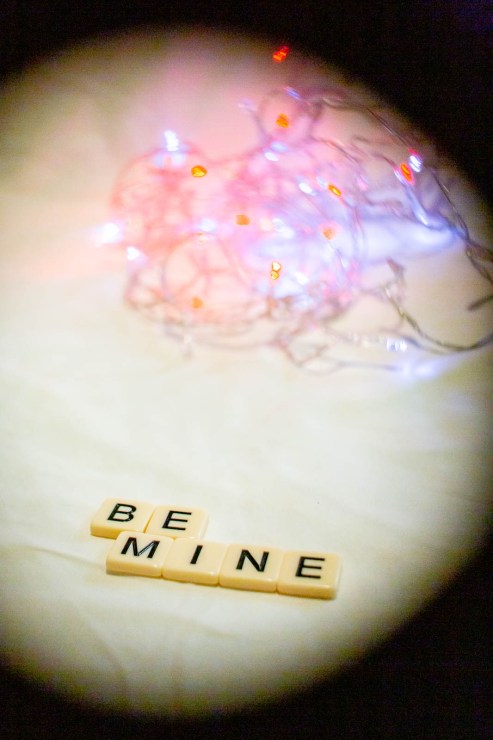
I tried with the lights between the lens and the tiles, but the vignetting was too much to see anything: I couldn’t get the tiles in focus while holding the lights up and keeping enough lights in the middle of the frame to blur out. It was a mess.
I shifted outside, thinking I could use the light filtering through the trees in the backyard as my hearts.
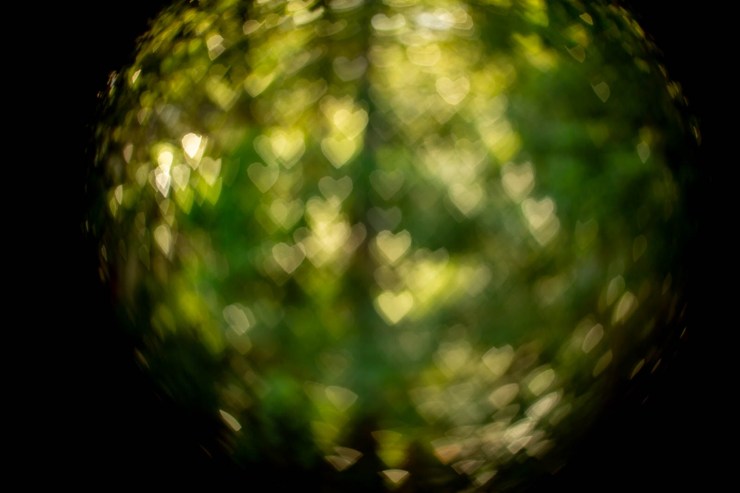
But then I had nowhere suitable to put the tiles while also getting the trees in the background.
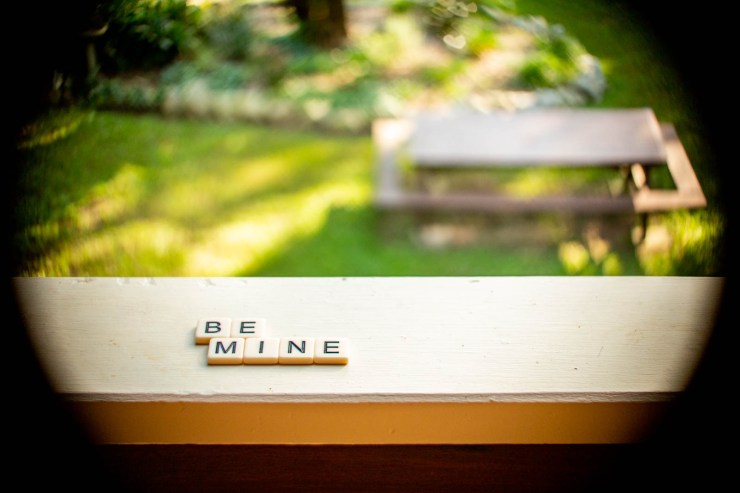
The hearts in even my best attempts were subtle at best.
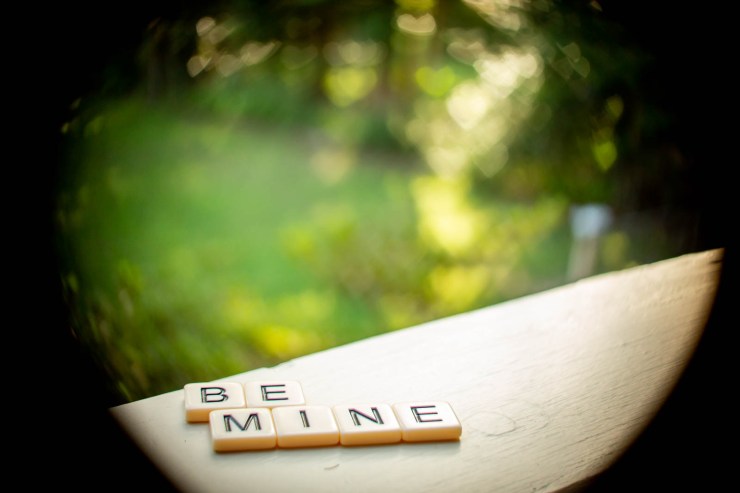
Solution: Change the brief
To do this successfully, a longer lens with a shorter minimum focus distance would be ideal, such as a 100mm macro lens. You also need to maximize the distance between the Christmas lights and the foreground subject.
I’d recommend trying to position the lights between the foreground subject and the lens, clamped on a light stand and dangled in the air, so your hands are free to manipulate the camera’s manual focus (necessary when using the DIY bokeh modifier).
Alternatively, shoot with a wider field of lights behind a close subject, like a city scape in the background (my bundle of lights was pretty small, so getting it to fill the frame was hard).
Instead, I ditched the tiles (check out what I did with them instead in my next article), and simply shot the lights with the lens pushed all the way out of focus.
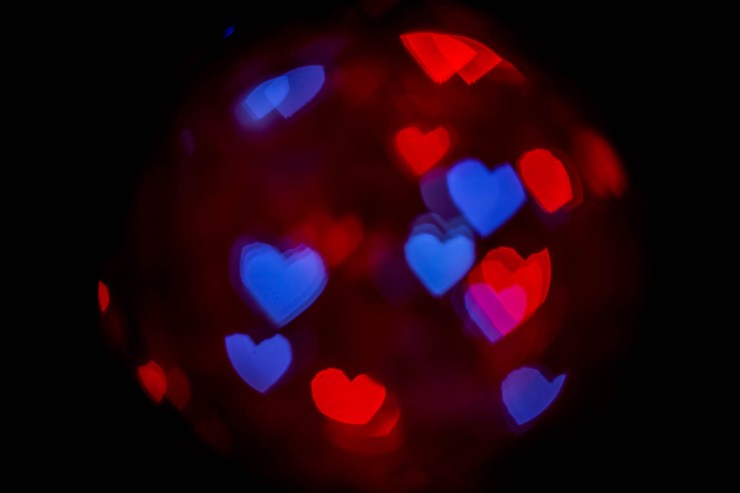
For my phone, I shot vertical (don’t forget to rotate the DIY bokeh modifier to get the hearts upright!) and moved around until I found an angle I liked.
This was my final favorite.
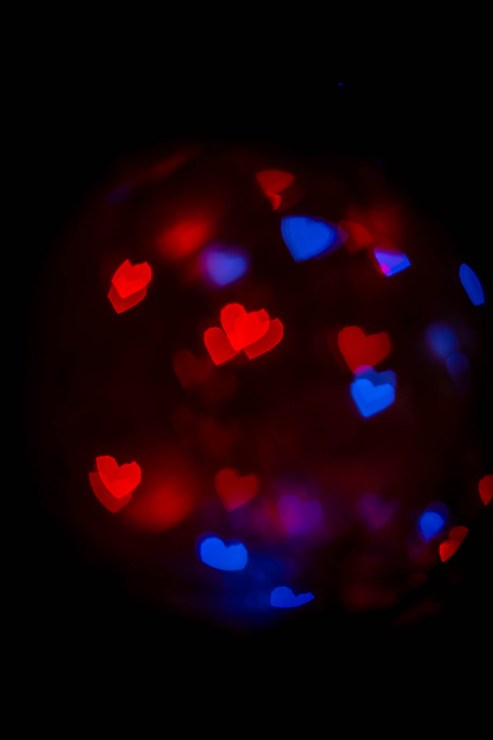
Although I didn’t capture what I set out to shoot, I was still happy with what I did end up with, and that’s the great thing about photography: sometimes, the limits of your gear forces you to get more creative on the fly.
Tell your story with the second annual Visual Storytelling Conference!
Experience four days of interactive, online training sessions featuring a range of educational content with experienced photographers and content creators. This free event kicks off with a series of technical boot camps to build essential skills, followed by live, online sessions on photography, video, business and social media. Join live from March 10-13, 2022!
