I am an administrator for two Facebook groups — Long Exposure Photography and Long Exposure Creativity. Every once in a while, I see people asking, “What are your camera settings?” Invariably, someone will say, “What does it matter? EXIF settings aren’t helpful. They won’t tell you how to shoot.”
That’s true. They really don’t tell you how to shoot. I suppose not much of anything does. But they can be helpful.
Length of exposure
If this were the only thing you knew about a photo, it would still be helpful. Indeed, it’s often the one that people find the most interesting. Let’s say we are just learning about long exposure photos, perhaps night photography.
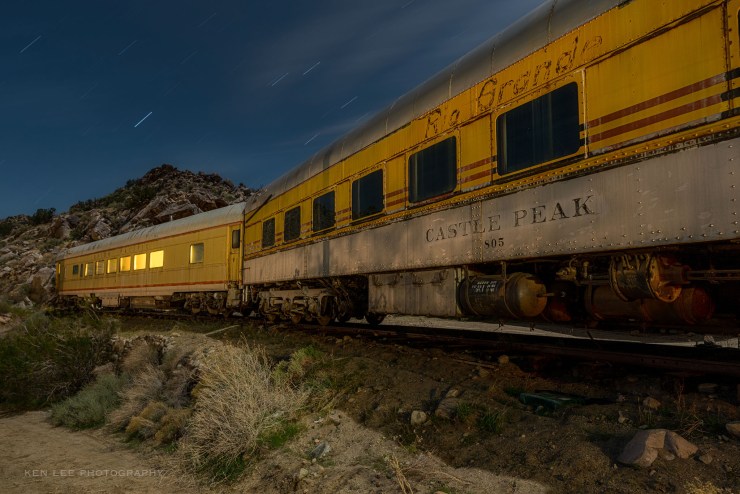
The first photo, above, showcases star trails. If we know that this is nine minutes in total, we know about how long it took for the stars to trail to that length. In this case, we also know that there were three photos of three minutes each, that were combined to make a total of nine minutes, because we can see that they were stacked.
Now we have an idea of how long it takes to make those star trails from a wide-angle lens!
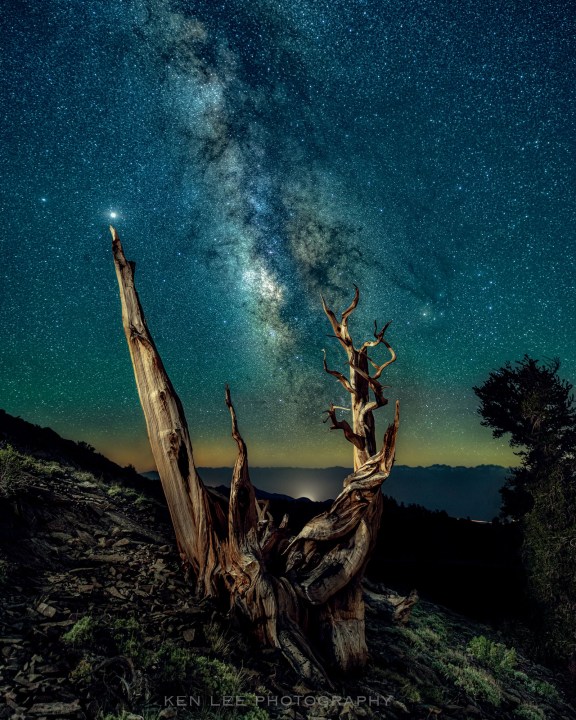
The above photo is a photo of the Milky Way. We can see that it is 15 seconds in length. That’s quite a bit shorter than nine minutes. And correspondingly, the stars appear as pinpoints.
From just the length of exposure, we have already determined how long of an exposure creates each look.
ISO (light sensitivity)
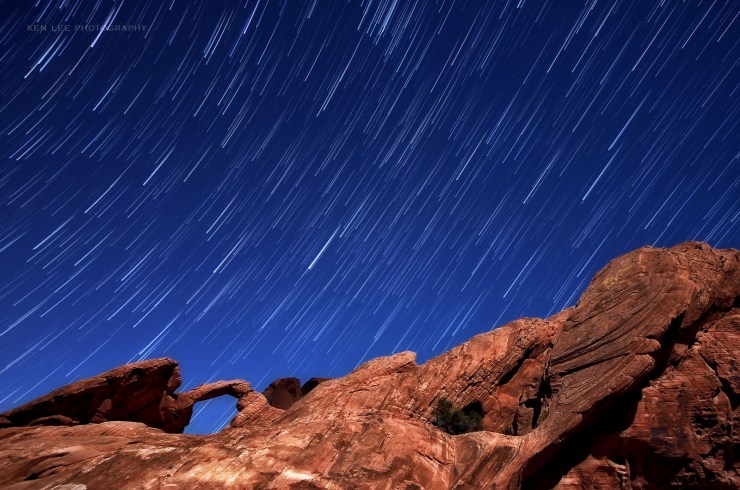
This is one of my earliest night photos. As you can see, the light sensitivity is very low at ISO 125. Why is that? The moon was out. It was much brighter. And I used a longer exposure time to create those long star trails.
Now, let’s have a look at that Milky Way photo again.

The light sensitivity, or ISO, is much higher. It’s ISO 2500, not ISO 125. Why? Someone looking at the photo might determine that the moon isn’t out and therefore it’s much darker. You can tell because the landscape in the back is very dark.
But there’s another reason. For a Milky Way photo, we usually want the stars to be pinpoints and not trail. This requires a shorter exposure length. If we photograph with a shorter exposure length but we don’t want to have a big black rectangle, we have to compensate with something else. One would be ISO.
And the other would be how wide we open our lens.
Aperture
The wider the aperture, or opening of our lens, the more light it lets in. That makes sense, right?
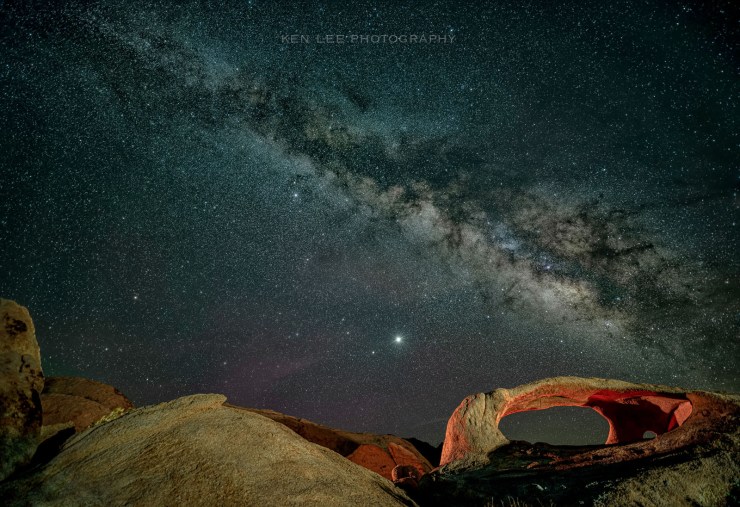
This photo above has a very wide aperture of f/2.5. We can see from the sky that it was very dark. No moon was out. And we know that we want to keep the stars as pinpoints, we have to let in a lot of light quickly but keep the exposure time relatively short. So in addition to using a high ISO, the aperture is wider.
Now, when would we want to use a smaller aperture?
We use a smaller aperture if it’s bright outside. There’s other reasons too. For example, if we want to have more time to do things like light paint the scene. Or if we want star trails. Or perhaps we want a broader depth of field to keep more elements in focus.
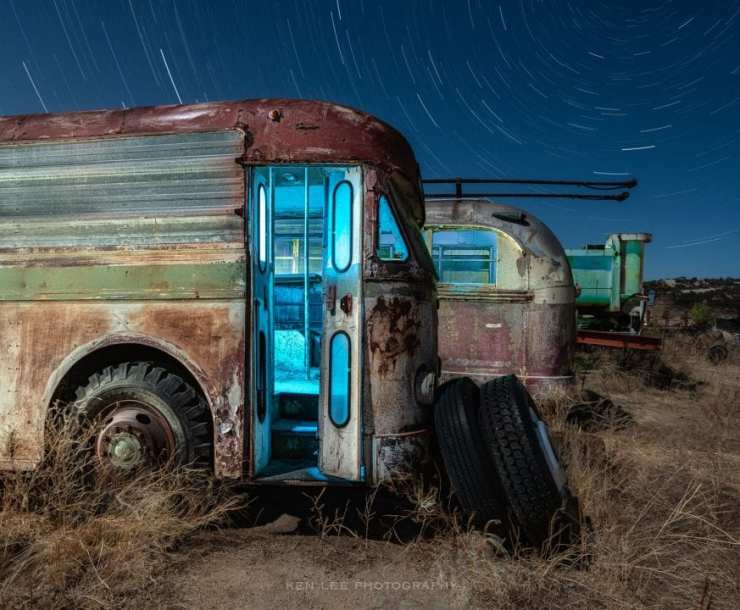
For the photo of the buses, it’s all of the above!
Here, we have an aperture of f/8, which is much smaller than f/2.8. There is very clearly a bright moon out. We can see the background clearly, and the star trails are very long here. Now, this is not a single exposure. It’s made by “stacking” individual photos of 160 seconds each. But 160 seconds is still 2-1/2 minutes, which is quite a bit longer than our Comet NEOWISE or Milky Way examples, which are all between 8-15 seconds.
Focal length
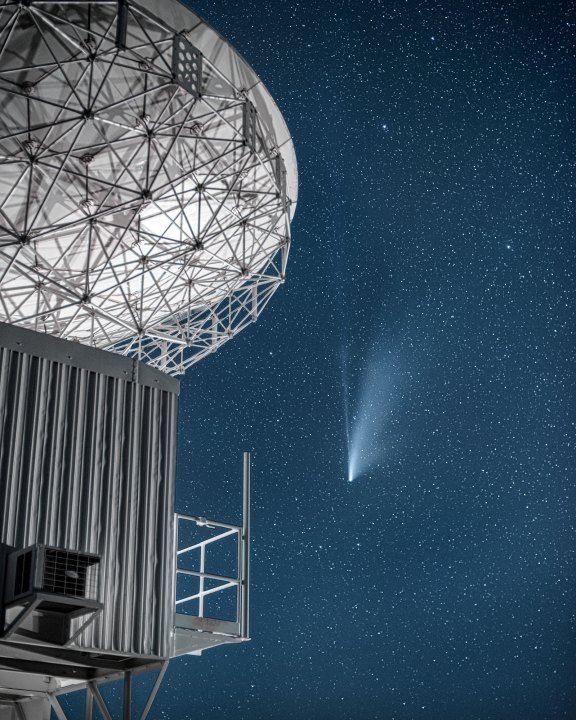
Focal length also lets us know a few things. The focal length for the above photo of Comet NEOWISE was 50mm, not the considerably wider 15mm focal length of the Irix lens. Just by seeing this, we can see that the exposure length is quite a bit shorter than the other Milky Way photos, all of which are trying to keep the stars as pinpoints. Instead of 15 seconds, it is only eight seconds!
Again, all of this are attempts to keep the stars as pinpoints. After all, the more we zoom in on a subject, the more apparent its movements are. Even if they are stars that are really far away!
Helping to understand the exposure triangle
If we just know the length of exposure, ISO, aperture and focal length, we already know quite a lot. We know the three elements of the exposure triangle — shutter speed, ISO and aperture. And we know how focal length affects things such as how the stars will appear in the photo even if they are far away.
We notice that for dark skies such as the Milky Way, the photographer will typically want to open the aperture and make the camera very sensitive to light. We know that this stops the stars from trailing if we use a relatively short exposure.
We notice that when a bright moon is out, the photographer might want to use a smaller aperture and lower the sensitivity. We know that this gives us more time for our photo. And we also know that this creates star trails.
We also notice that the longer the focal length, the shorter we have to keep our exposure to keep the stars from moving.
When people tell you that camera settings don’t tell you anything, you can lean back and smile, knowing that you can actually discern quite a bit from them. Indeed, that’s how I learned night photography initially. It wasn’t from books — it was from people posting their camera settings in Facebook groups.
Tell your story with the second annual Visual Storytelling Conference!
Experience four days of interactive, online training sessions featuring a range of educational content with experienced photographers and content creators. This free event kicks off with a series of technical boot camps to build essential skills, followed by live, online sessions on photography, video, business and social media. Join live from March 10-13, 2022!
