If you’re like most photographers, using a flash to make portraits is intimidating. Using available light is so simple that most photographers never dive into the world of using flash to light their portraits. Unfortunately, that severely limits the hours of the day when you can make pictures and leads to worrying too much about how well your camera performs at high ISO’s. Making great balanced light pictures doesn’t require the fanciest tools or a full-frame camera. I shot all the pictures here with a cropped micro four-thirds camera. You can do it with any camera that has a hot shoe. This article will show you how to get started using off-camera flash by balancing it with natural light.
1. Use Manual Mode
First of all, use Manual Mode on your camera and on your flash. You need to use your flash empirically. If you use any of the fancy TTL stuff you’ll get different results each time. You also need a flash that can be positioned away from the camera and triggered remotely. My favorites are the Nissin speedlights (here’s a review).
2. Choose the aperture
Aperture is one of your most creative tools. Choose the aperture that fits the look you want for depth of field. Keep in mind that wide apertures will require less light from the flash while small apertures will require more light. Small apertures drain the batteries quicker, but batteries are cheap so choose the right aperture and adjust the other settings to match.
In this picture, I chose a wide aperture of f/2.2, 1/250th of a second, and ISO 100. This is the natural light only.

3. Choose the shutter speed and ISO
The shutter speed and ISO will determine how bright everything is that is not illuminated by the flash. The trick here is that the shutter speed needs to be at or slower than the flash sync speed of your camera. Read about sync speed here, or just use 1/200th of a second or slower, like 1/125, 1/80th, etc. If you see a black bar, slow the speed.
What if it’s too bright?
If you’re using your maximum sync speed but the picture is too bright, you can use a lower ISO to make the whole thing darker. If you’re using your camera’s lowest ISO but it’s still not dark enough, then you might need to adjust the aperture a little. If you really want that wide aperture, then you could use a polarizer or neutral density filter to make the whole thing darker and keep the wide aperture.
My subjects were standing in front of a window, so there was a lot of light. I’m at my camera’s minimum ISO and maximum sync speed to get things looking good on their faces. Next, I added some light from the side with a flash.
4. Add flash
Now add a flash. In this case, I’m using it to augment the window light. This is a great place to start. It’s not going to be too shiny on your subjects’ faces will it ruin anything if it’s too bright or too dark. You can use the bare flash as a rim light, but it’s also very nice to soften it with an umbrella, as in this example (read about soft light here).
For starters, try setting the flash to about 1/8th power. If it’s too bright, make the flash darker by going to a lower power like 1/16. If it’s too dark, make the flash brighter. On a rim light, I’d recommend erring on the side of darker. You don’t want it to be the brightest thing in the picture, just a little brush of light to define your subjects better.
You can see the little bit of rim light defines the couple and isn’t too strong. Ideally, it should just augment the natural light by looking like natural light.
.mgl-tiles { display: none; } #mgl-gallery-634eb0fd65396 { margin: -5px; width: calc(100% + 10px); } #mgl-gallery-634eb0fd65396 .mgl-box { padding: 5px; } @media screen and (max-width: 768px) { #mgl-gallery-634eb0fd65396 { margin: -5px; width: calc(100% + 10px); } #mgl-gallery-634eb0fd65396 .mgl-box { padding: 5px; } } @media screen and (max-width: 460px) { #mgl-gallery-634eb0fd65396 { margin: -5px; width: calc(100% + 10px); } #mgl-gallery-634eb0fd65396 .mgl-box { padding: 5px; } }
The flash is just a little too dim–see it on his cheek?
This is about right.
5. Work it
Now you’re ready to make portraits. The whole time you’re making adjustments make sure that your subjects know that they don’t have to perform, yet. Now it’s time to turn on the smiles and have fun. Move your subjects around as long as they keep the same distance from the light. I ended up with them facing the flash and having the window as the rim light.
.mgl-tiles { display: none; } #mgl-gallery-634eb0fd65bb0 { margin: -5px; width: calc(100% + 10px); } #mgl-gallery-634eb0fd65bb0 .mgl-box { padding: 5px; } @media screen and (max-width: 768px) { #mgl-gallery-634eb0fd65bb0 { margin: -5px; width: calc(100% + 10px); } #mgl-gallery-634eb0fd65bb0 .mgl-box { padding: 5px; } } @media screen and (max-width: 460px) { #mgl-gallery-634eb0fd65bb0 { margin: -5px; width: calc(100% + 10px); } #mgl-gallery-634eb0fd65bb0 .mgl-box { padding: 5px; } }


6. Do it again
Do this same thing again. And again. And again. It’s important that you practice it many times before you try it with clients.
Here are two more examples.
This is the scene. I’ve chosen the aperture I want and I’ve adjusted the shutter speed and ISO so that the background is looking great.

Add the flash then adjust the power so it looks good. With this balance, everything looks natural and the subjects pop.

Last one, and it’s a twist. This one has two flashes, one shining on her face, and one coming in from behind. The window is directly behind the camera. The flash shining on her face is reflecting off the wall in front of her and that acts as a modifier to make the light larger and softer.
Here’s another shot without using the flashes. I left this one a little darker so that the background won’t be quite as bright and distracting.
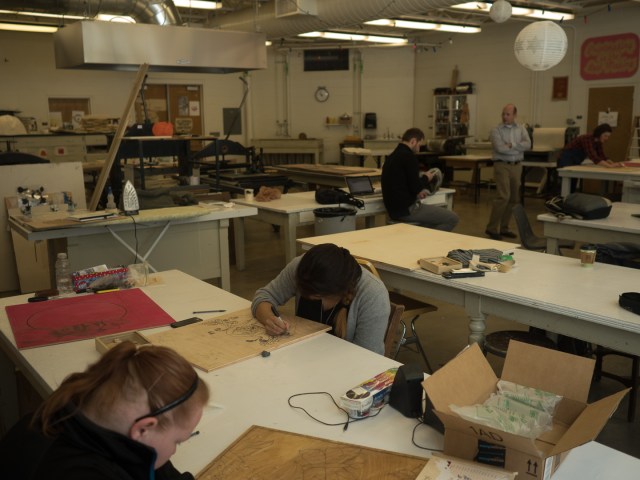
Now here’s the backlight coming from the right. See the shadows on the table and the light on her shoulder?
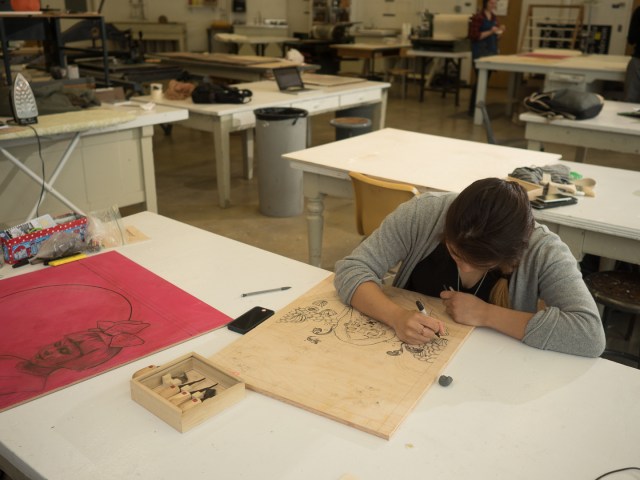
Now, this is the front light getting balanced.
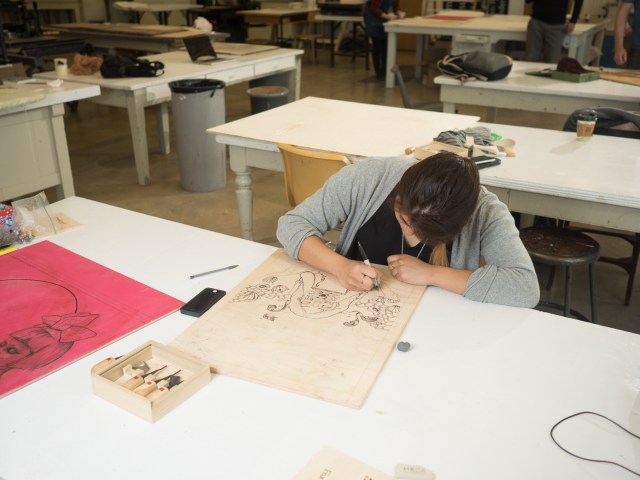
Now I’m ready to work the scene. Photograph from various angles and even change lenses while keeping the same exposure and flash settings.
.mgl-tiles { display: none; } #mgl-gallery-634eb0fd6628d { margin: -5px; width: calc(100% + 10px); } #mgl-gallery-634eb0fd6628d .mgl-box { padding: 5px; } @media screen and (max-width: 768px) { #mgl-gallery-634eb0fd6628d { margin: -5px; width: calc(100% + 10px); } #mgl-gallery-634eb0fd6628d .mgl-box { padding: 5px; } } @media screen and (max-width: 460px) { #mgl-gallery-634eb0fd6628d { margin: -5px; width: calc(100% + 10px); } #mgl-gallery-634eb0fd6628d .mgl-box { padding: 5px; } }
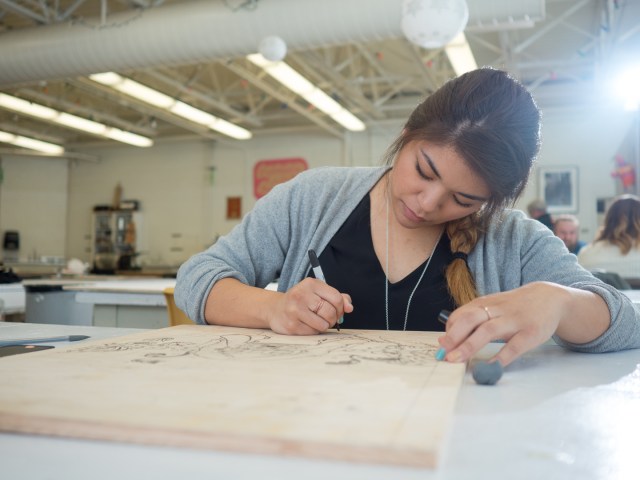

while
Summing up
Using flashes will open a new world of photography to you, and it’s not that hard to do. Start by getting the natural light looking the way you like, then add the flash. Take it easy by doing this one step at a time. If you change more than one thing between pictures that makes it hard to tell which setting had what effect. Take your time. Practice many times. You’ll be a pro with a flash in no time.
Tell your story with the second annual Visual Storytelling Conference!
Experience four days of interactive, online training sessions featuring a range of educational content with experienced photographers and content creators. This free event kicks off with a series of technical boot camps to build essential skills, followed by live, online sessions on photography, video, business and social media. Join live from March 10-13, 2022!
