Like many people, early in my photography career, I had many questions about what equipment to buy. The recommendations that I remember were to buy great lenses, a sturdy tripod and a light meter. So I did, however, at some point in my photo career the light meter ended up on a shelf instead of a photography backpack.
In this article, I’ll explain the difference between the meter in your camera and a handheld light meter, why I have started using one again and why it should be a part of any photographer’s camera bag.
Incident metering versus reflective metering
Exposure in photography is all about light. How much there is, where it is coming from, its color, etc. The light meter built into cameras that measures this, generally, are of the “reflective” type. They measure the light being reflected off of your subject. While they are sophisticated and often fairly accurate, this reflected light can be influenced by the surface material of your subject.
When light hits a surface, three things can happen. The light is absorbed by the surface (absorption), bounces off the surface (reflection) or transmitted through the surface (transmission). While some materials will only do one of these, in most cases, there is a combination of all three.
Incident metering
With incident metering, we measure the light falling on an area. While it may have passed through something like clouds, that effect is uniform across the scene. It isn’t being affected by what it is bouncing off of, such as shiny metal which reflects light, or a mossy log that absorbs light. Often incident metering will be more accurate than reflected metering, although, truth be told, sometimes the differences are not enough for us to notice. However, in some instances that difference can be drastic, causing you to underexpose or overexpose your photos.
The 18% gray standard
The 18% gray (aka middle or neutral gray) standard is a constant that photographers and camera manufacturers base exposures on. Let’s say we remove the color from a scene and look at only the tones. All the brightness values from black (shadows) through white (highlights) in a scene. “18% gray” is exactly halfway between black and white. It is the average brightness between the deepest shadow and the brightest light.
(I know you are thinking, “Why not 50% gray?” Because this is based on an exponential curve, not a straight line. Mathtastic!)
Why 18%?
18% gray is used as a standard because it is the only brightness where the tone reflects back as much light as it receives. So, an 18% gray scene will be metered identically by either an incident or a reflective meter. However, most scenes are not perfectly neutral gray in brightness!
.mgl-tiles { display: none; } #mgl-gallery-634eb523c805f { margin: -5px; width: calc(100% + 10px); } #mgl-gallery-634eb523c805f .mgl-box { padding: 5px; } @media screen and (max-width: 768px) { #mgl-gallery-634eb523c805f { margin: -5px; width: calc(100% + 10px); } #mgl-gallery-634eb523c805f .mgl-box { padding: 5px; } } @media screen and (max-width: 460px) { #mgl-gallery-634eb523c805f { margin: -5px; width: calc(100% + 10px); } #mgl-gallery-634eb523c805f .mgl-box { padding: 5px; } }
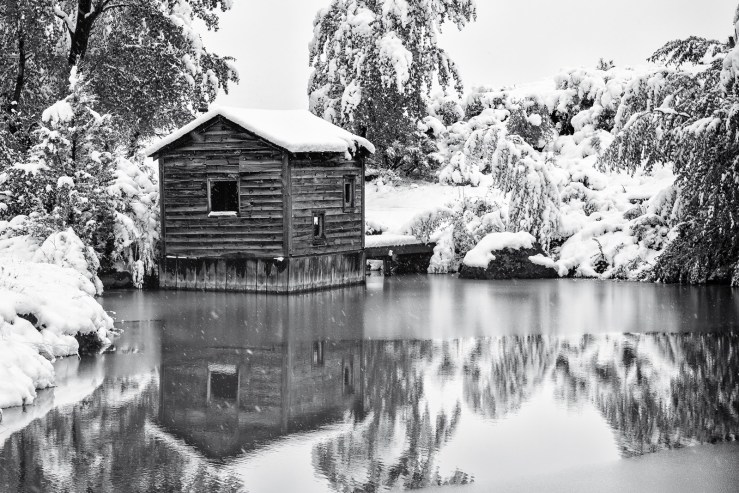
Relying on the in camera’s meter would have produced a muddy shot nearly a stop underexposed. 
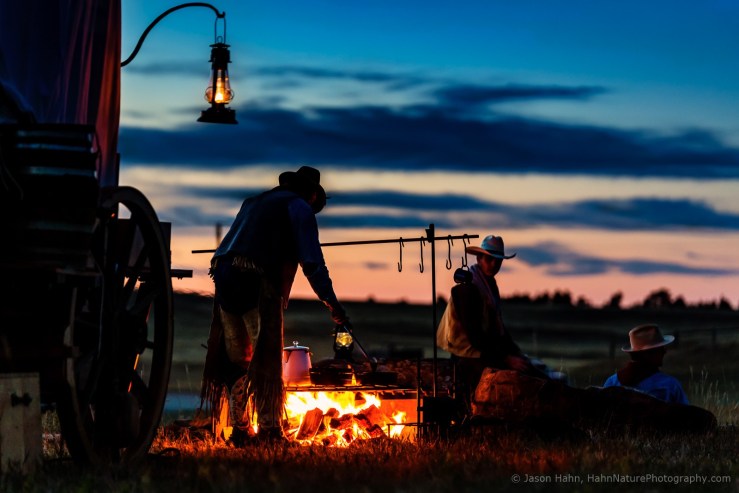
Relying on the camera’s meter would have produced a washed out shot overexposed by nearly 3 stops.
Imagine a snow scene or a sunset — scenes with lots of highlights or shadows. The snow scene will reflect far more light, the sunset scene far less. With snow, the camera’s reflective meter will likely render an exposure that is too dark, making the snow look grayish or “muddy.” The meter will let in too little light as it assumes the scene should be darkened down to a middle gray average. Conversely, the sunset scene will appear “washed out,” as the camera will allow in too much light to render as middle gray.
Both of these issues are the result of measuring reflected light from your subject instead of the actual light falling on your scene. The more the scene diverges from an average of middle gray, the more the calculated exposures will vary between your camera’s meter and the handheld incident meter. The incident meter is accurately capturing the light in the scene, while the reflective meter is thrown off the reflectivity of the subject.
Should I bother if my camera has a light meter?
Short answer, yes. But in a different and less controlled way.
Long answer, yes. But in a different and less controlled way. The light meter built into your camera is measuring light reflected off your subject, not the light falling on your subject. It’s a subtle but important difference due to the way light interacts with different materials.

In nature
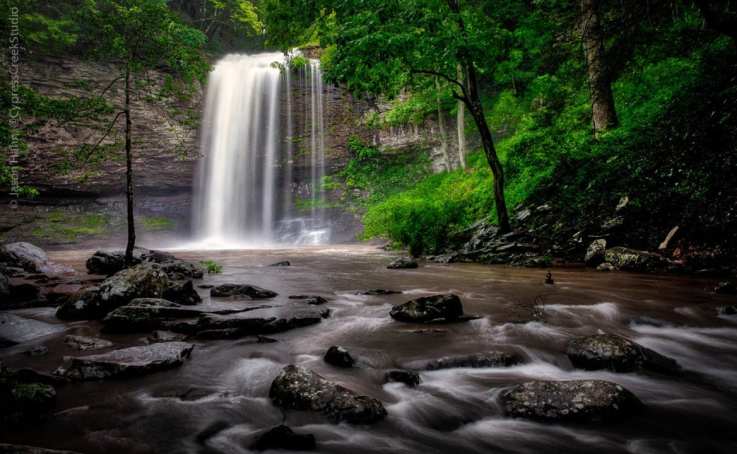
Take the waterfall in the above scene. Light coming through the tree canopy is falling on the wet rocks and water. With the meter, we are measuring the light falling on the scene, before it has been affected by what is it falling on. A wet rock reflects light differently than a dry one. Water depth, different plants and whether the water is clear or murky, all can affect the reflected light values.
Creative control
If trying for specific effects like the classic “dreamy water” look popular in waterfall photography, this is a fairly precise shutter speed, typically in the 1-second range. A fairly small aperture is also used (f/10-16 usually) to achieve a large depth of field within the scene. Little changes in light levels in this environment can play havoc with your exposure, without you realizing it.
Using any of the “creative” modes like Aperture or Shutter Priority, without a precise measuring of light, will give up control over what your final image looks like. Aperture Priority gives up control of the shutter speed, so your water blur is out of your control. Shutter Priority gives up control of your aperture, or what is in focus throughout your image. Is the camera pretty good at this? Sort of, mostly, kind of, but not always. Using Manual mode with consistent metering from your light meter gives you the most accuracy in a situation like this, so you can keep your creative choices if the light falling on the scene changes.
While we can fix much after the fact, where consistent exposures are vital it is always better to get it right in the field than have to guess later and fix all your exposures in post-processing.
Flash
Speaking of creative control, one of the biggest drawbacks of any in-camera meter is its inability to measure flash. Our greatest creative control comes when we add or subtract light from a scene to achieve our vision. Since your flash doesn’t fire until you trip the shutter, your metered reading to calculate the exposure will be wildly different from your actual exposure with flash. A light meter can measure flash during a test shot, giving you a consistent and accurate exposure for your images.
What I use
Over the past year, I was fortunate to receive the Illuminati incident light and color temperature ambient and flash meter to evaluate. It quickly earned a place in my gear bag, a spot not many items can claim! It is a pretty innovative product that combines a light meter and a color meter that connects to your smartphone.
While there are light meters that also measure white balance, they are usually at the high end of the price range. This is a much lower-cost item, simple to use, for photographers or videographers, and is about the size of a thick triangular drink coaster. It’s small, sturdy and lightweight, taking the place in my pack of a light meter, color meter, gray card and drink coaster.
Making life easier
My pack is already full of gadgets, gear, and other photographic sundries. I’m a “multigenre” photographer, so at any moment I could jump from a black and white landscape to photos of a bear, to a fashion shoot. Usually not at the same location, but you never know. Being able to have one device that provides highly consistent results, and is reliable is of great value to me.
Tell your story with the second annual Visual Storytelling Conference!
Experience four days of interactive, online training sessions featuring a range of educational content with experienced photographers and content creators. This free event kicks off with a series of technical boot camps to build essential skills, followed by live, online sessions on photography, video, business and social media. Join live from March 10-13, 2022!
