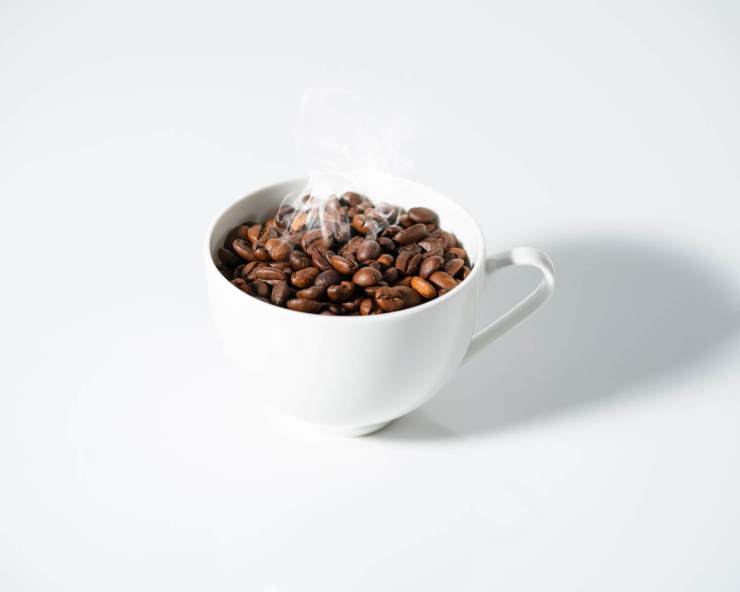
Creating captivating still-life and or product images in the studio doesn’t have to be challenging. Going back to basics and keeping things simple can make your job a lot easier. So I put together exactly how I got the shot of this coffee with a single speedlight.
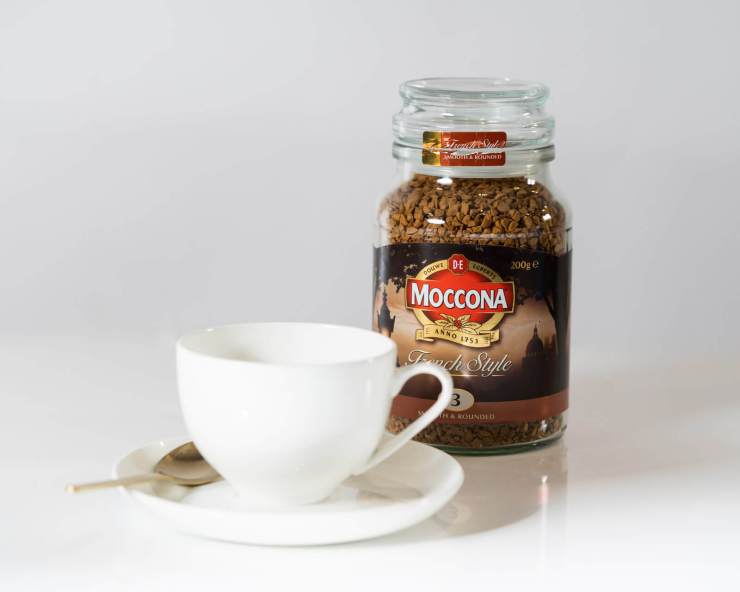
Staging the scene
I used a white seamless paper backdrop along with some white acrylic to create some reflections. You could use cloth or even project paper. I put it all on a table to make it easier to work with.
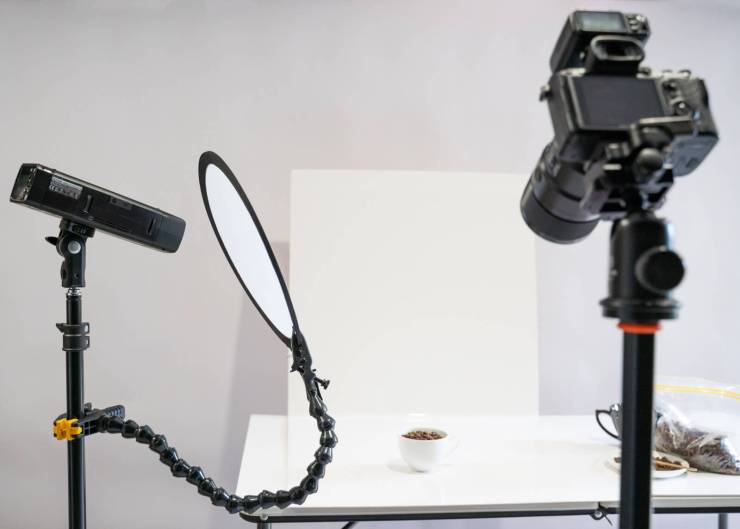
Camera left I have my Godox AD200 with an 11″ diffuser and plamp on a 45-degree angle pointed down. This helps to soften and diffuse the light from the speedlight and lessen the harsh shadows. The acrylic and white background also help to bounce in more light. You can just see my tripod and my camera, up quite high pointed down. However, I did change the camera angles on a few shots as well.
Camera & light settings
Now, this doesn’t mean the exact same setting will work for you, but it may give you a good place to start. Remember strobes and speedlights work on fractions, so if 1/32 power is too bright, go to 1/64. If it’s too dark, head to 1/16.
I shot with my Sony a7R III and my Sony 90mm Macro f/2.8 lens in Manual mode, with an aperture of f/5.0, ISO 200 and 1/125s. My white balance is set to Auto, with spot metering on. And my focal length is 90mm.
For my lights, I’m shooting in Manual mode at 1/32 power.
- Camera mode: Manual
- Exposure: f/5.0, ISO 200, 1/125s
- White Balance: Auto
- Metering: Spot metering
- Focal length: 90mm
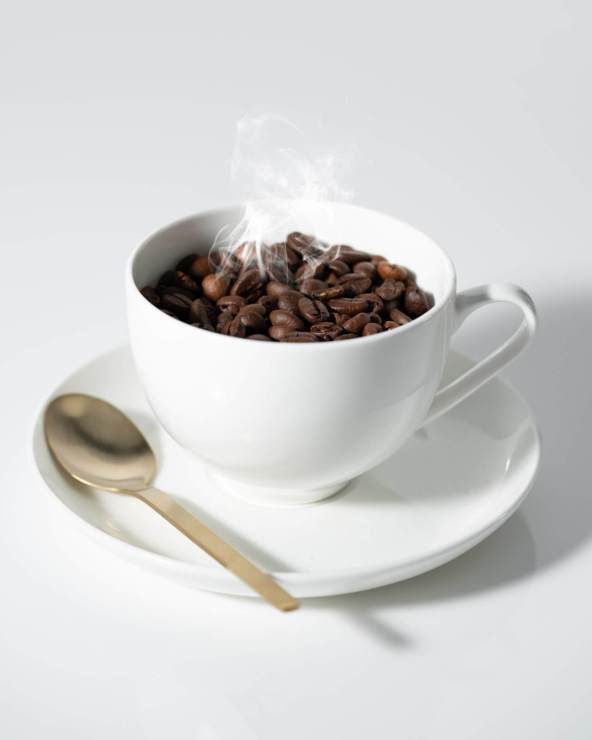
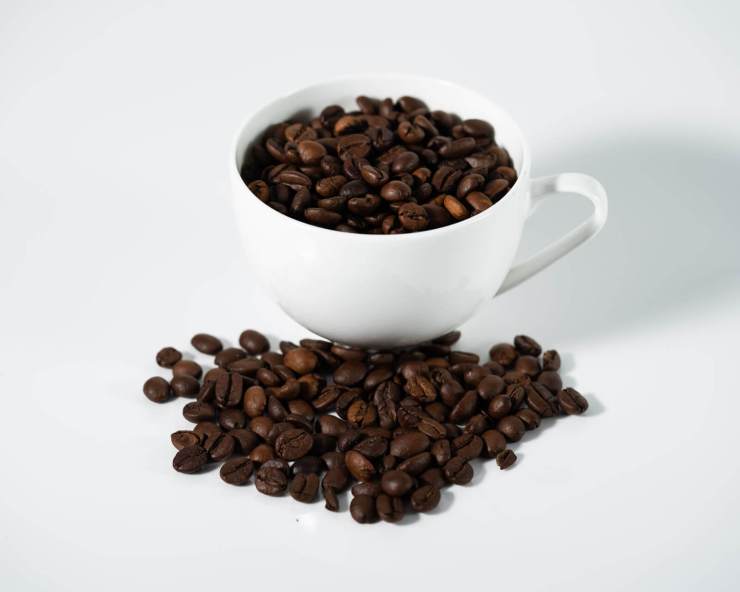
Instead of using premade coffee, I thought it would be fun to use coffee beans and play around with those. I tried with the saucer and without, as well as a jar of ground coffee.
.mgl-tiles { display: none; } #mgl-gallery-634eb7906bd8f { margin: -5px; width: calc(100% + 10px); } #mgl-gallery-634eb7906bd8f .mgl-box { padding: 5px; } @media screen and (max-width: 768px) { #mgl-gallery-634eb7906bd8f { margin: -5px; width: calc(100% + 10px); } #mgl-gallery-634eb7906bd8f .mgl-box { padding: 5px; } } @media screen and (max-width: 460px) { #mgl-gallery-634eb7906bd8f { margin: -5px; width: calc(100% + 10px); } #mgl-gallery-634eb7906bd8f .mgl-box { padding: 5px; } }
Post-processing
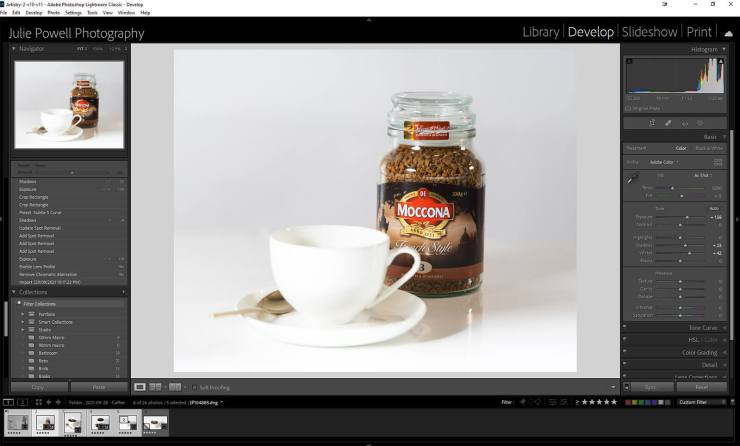
Edited the shots in Lightroom Classic, lightly, letting the beautiful light shine through. I increased the exposure as I had shot it a bit dark. I also increased the whites and the shadows — I wanted it nice and bright.
For the steam? I did drop the image into Photoshop and added a smoke brush to my image. And that’s it.
Tell your story with the second annual Visual Storytelling Conference!
Experience four days of interactive, online training sessions featuring a range of educational content with experienced photographers and content creators. This free event kicks off with a series of technical boot camps to build essential skills, followed by live, online sessions on photography, video, business and social media. Join live from March 10-13, 2022!
